Monday, 30 August 2021

Dusting off the blank DVDs

The age old problem of tape based media is that they are fragile.  Tapes are so susceptible to damp, humidity, electromagnetic interference and even simply being stored in the wrong orientation (my top tip is don't ever stack video tapes on their side... always upright.)

Anyway, capturing analog footage onto pc, collating and editing it and laying out to portable hard drive or DVD has always been a bit of a slog.  It’s a job that I tend to put off for a rainy day, but of course I rarely get around to it.  However I’ve realised that some of my old tapes are getting on for 30 years old, and it’s only a matter of time before they succumb to tape rot.  I needed to find a solution for quickly and easily archiving that old material.

And this is where the portable DVD recorder comes in.  I spotted this old Sony VRD model on eBay for less than £35 and snapped it up.  The VRD-MC series was first issued around 2006 and was designed to allow for quick and east transfer from camcorders and video recorders to DVD.  It’s basically a PC-DVDR drive in a case with a small LCD screen.

Mine is a second generation VRD-MC3


The MC-3 appears almost identical to the earlier MC-1 and it’s not immediately obvious what features changed between the models.  For the MC-3 the only real difference is the addition of a USB connector to allow direct docking with Sony branded HDD and DVD Handycams.

The MC-3 features a simple interface with settings for various footage sources, you simply select the appropriate source (e.g. ‘Analogue Video to DVD’) stick in a blank DVD and press play on the camcorder and hit the record button.  That’s it.  The lcd screen lets you keep an eye on the footage while it’s transferred and when the capture is finished you can either finalise the disc or add more footage by connecting another source and pressing the record button again.


The VRD-MC-3 has connections for analog/phono connectors and s-video as well as an iLink 1394 connection for DV cameras.  The system only supports Standard Definition video so it won’t be any use for transferring HDV.  There are slots for Sony Duo memory sticks, SD cards or Compact Flash.


I used Sony branded DVD+R discs to make sure I had the best compatibility with my living room DVD player as well as PC.  These discs seem to be getting a bit more expensive these days but hopefully they won’t disappear from the market for a few years yet.

So if you are looking for a quick and easy method to archive old analogue tapes, without the hassle of booting up the PC, or you want to transfer some iLink MiniDV footage then it would be worth picking up one of these recorders.

I’d recommend either the MC3 like mine or the slightly later MC5 as both of those models feature the S-Video connector.  The MC6 doesn’t support S-Video and is particularly low on features compared to the earlier models.  However the final model the MC10 does support S-Video so clearly there were a lot of complaints about the MC6.


The VRD-MC-5 (Pictured above) features an S-Video connector.


The VRD-MC-10 (Pictured above) was the final model in the series.  It added some extra functionality for the DVD menus and reinstated the S-Video connection which was missing for the MC6. The casing is slightly more compact and the plain black colouring is perhaps a little more hi-tech looking than the earlier white/black versions.


Monday, 19 July 2021

Clean over my heads...


Among my many camcorders are a couple of Sony V90e models, these were one of the early Video8 camcorders when they were still fairly large and bulky machines, before the smaller tape formats and palmcorders became available.

The V90e is the same type of camera used in the Steven Soderburgh movie ‘Sex, Lies & Videotape’ and famously pictured in the promotional materials for the movie.

Neither of mine has worked in decades, but on a whim I decided to see if I could resurrect them.  One of them was in good shape cosmetically but tape playback was really choppy with lines all over the screen.


I had assumed the problem was a tracking issue, which would need some specialist equipment to fix, but I thought I might try clearing the heads to see if that helped.

I bought some chamois cleaning swabs with bendable plastic handles (these are much better than cotton swabs as the cotton ones will tend to leave fibres on the recording heads) and set up a clean space to open up the camera.


In order to reach the heads for cleaning I had to remove the tape door cover, which is held in place by a couple of tiny screws.  Removing the screws allows the cover to slide up and off the frame, leaving the tape transport and heads exposed.

I coated a swab in isopropyl (from a vhs head cleaning kit) and then held it gently against the head drum while slowly rotating the heads in an anti-clockwise direction.  I used latex gloves to avoid adding grease or fingerprints to the heads.

After doing this a couple of times I reassembled the camera, hooked up the power and inserted a tape.


Incredibly the cleaning did the trick.  The picture playback was now almost totally clear, with only an occasional flicker in the playback.  The camera still has a few visible bits of dust and lint inside so I expect I will need to repeat this process at some point, but I’m really pleased with the results of my first ever attempt to clean heads without a cleaning tape.

If you have an old camcorder that won’t playback cleanly then it might be worth trying this method to see if it fixes the problem.


Friday, 16 July 2021

The thin black line


They don’t make ‘em like they used to.  I’ve acquired a lot of different cameras over the years and most of them end up sitting in storage once they’ve been replaced.  I used to spend hours editing tape-to-tape back in the days before capture cards, stacks of S-VHS and M2 tapes, then once non-linear editing arrived I’d spend hours digitising tapes onto the hard drive, and then finally I moved to digital card-based DSLR cameras and I thought I was finished with tapes.

But it’s funny how time changes things, and here I am wading into the old-school tech once again to resurrect some old projects and maybe even give some old cameras one last outing before they finally succumb to the ravages of time.  Nothing lasts for ever and an analogue video camera is no exception.

I’ve got a bunch of different examples stacked in boxes and camera bags, with at least one model from each of the main consumer formats and some of them are still surprisingly capable despite their low resolution capture.

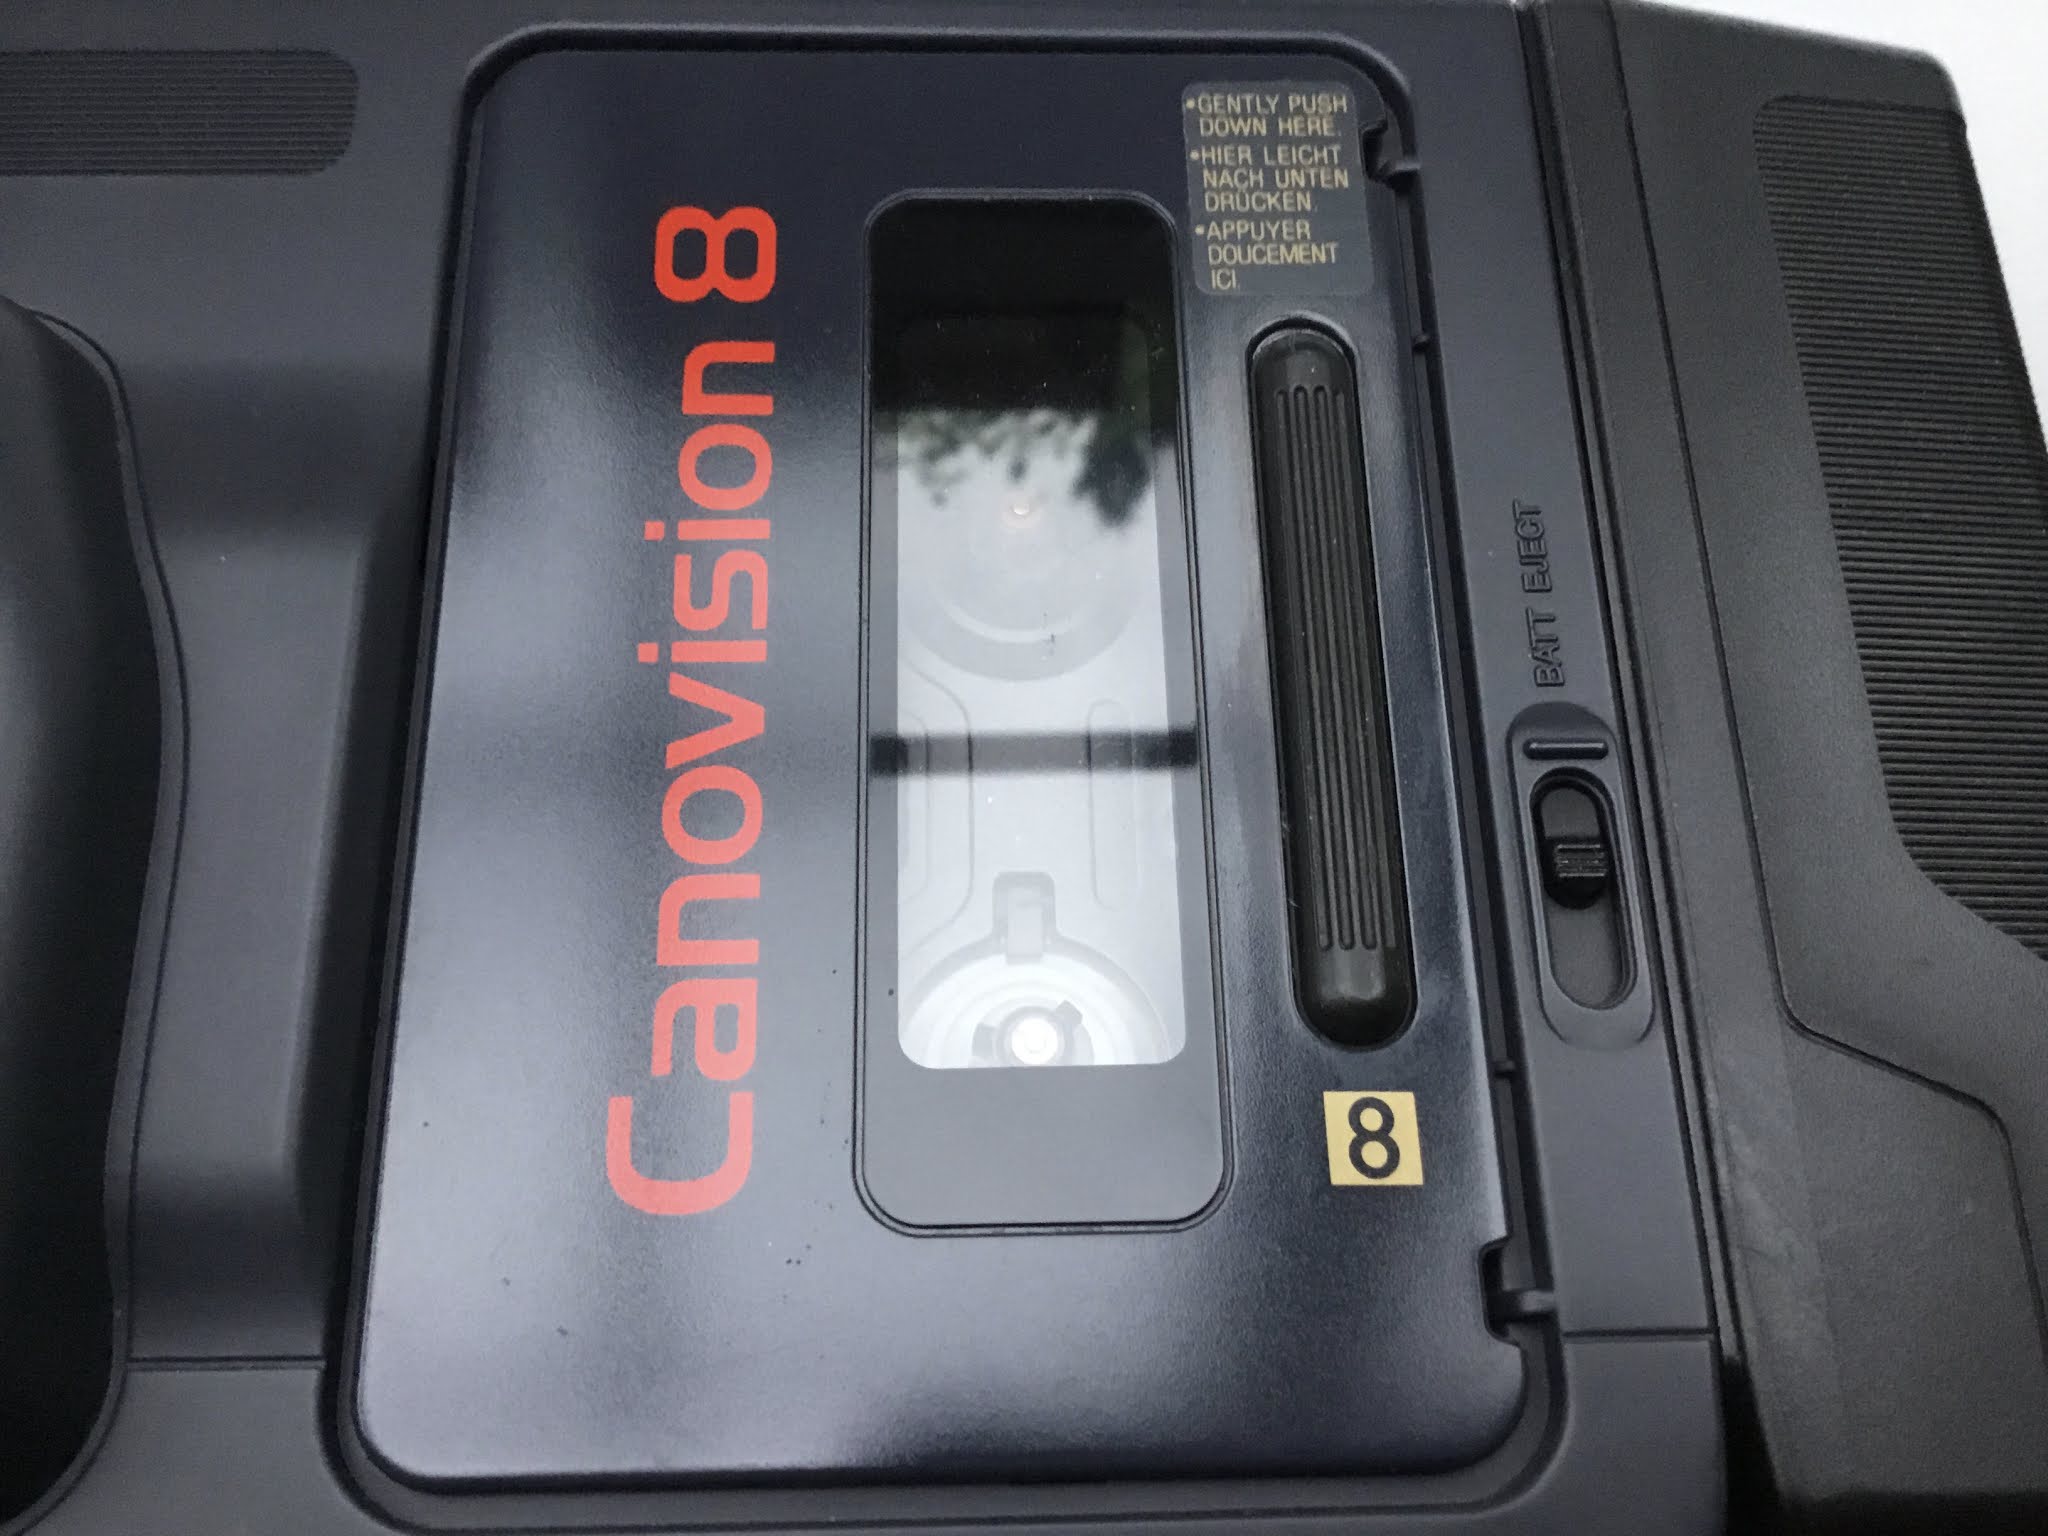
The challenges of shooting with these old cameras are mostly caused by a lack of modern niceties.  You don’t get things like histograms, focus peaking or crisp lcd monitors on these old cameras, in fact for something like this Canonvision VM-E2 you don’t even get a colour viewfinder let alone a useable focus screen.  Flick it into ‘auto focus’ and hope for the best.

I’m very curious to see how the footage holds up against more modern cameras, even a cheap mobile phone will probably have a better sensor than one of these old machines, but there is still something to be said for taking a stroll down memory lane and in this age of Terrabyte micro-sd cards and 128,000iso sensors running 8k resolution it’s weirdly refreshing to have nothing but an old analogue camera with a ccd and a spool of magnetic tape in the camera bag.  I wonder how long it will be before I remember why I upgraded in the first place? :)


Tuesday, 6 July 2021

Blackmagic... Intensifies

So the plus-side and the downside of clearing out storage boxes is you find all sorts of filmmaking projects and things that you forgot existed or thought were lost. I’ve unearthed a bunch of old old projects from the 90’s including the master tapes for a short film I made in college.  

Naturally I started thinking about what to do with them, and I had the idea that maybe, just maybe it would be possible to convert these old analogue formats over to digital and try doing a ‘directors cut’ with better grading etc.

So that led me down a rabbit hole of jerry rigging old VCRs and DV cameras to try and get the footage in via FireWire, and it worked, I can get these old analog tapes copied to MiniDV and then do a standard EEE 1394 cable transfer.  So far so good.

But then I started thinking what if there is a better way to do it?  One without the intermediate DV compression step?

So it turns out that Blackmagic make this Intensity Pro capture card which accepts analog inputs including S-Video which should (should) be cleaner than converting to DV using the cameras internal hardware.

My shiny new Intensity Pro 4k card arrived this morning.  Time to get out the toolkit and get it installed.

Thursday, 27 May 2021

Mystery Film


This weekend was spent organising storage boxes and locating misplaced film equipment.  Old cameras and lenses.  I found this forgotten old Super 8mm cartridge in a box, no idea what’s on it, how old it is or even if it’s one that I shot.  Mysterious.  I don’t have a Kodak envelope for it, and I think there aren’t any Kodak labs honouring the old prepaid envelopes these days anyway.  It’s been at least 20 years since I shot anything on my super 8 cameras!

After googling around I found a company called Gauge Film that advertises processing and telecine for S8 and 16mm films, so I’ve booked this mystery cart in for development.  We shall see what happens.  Maybe nothing, maybe an old film of mine or maybe some random film from someone else.  

Over to you Gauge Film. https://www.gaugefilm.co.uk/

Sunday, 16 May 2021


Back out of the darkness.  Radio silence.  It’s been nearly ten years since I last updated this blog.  A major move of location, change of job and plenty of procrastination.  Ten years... wow.

A lot of water under the bridge in that time, a whole generation of camera tech, the DSLR fad has come and gone, 35mm adaptors are history, there have been huge changes in tv and film production, streaming services like YouTube and Netflix have come of age... things have really moved on.

Ok so my first order of business is to get back into the swing of things, a quick update... the plane crash short film is finished, I went with the title ‘Tacoma’ in the end, that was the working title (loosely based on the idea of structural failure) and I fully intended to come up with a new title but somehow the working title just felt right.

Tacoma was submitted to various festivals but not a lot of interest, it’s not really a festival film, not art house enough and so I’ve decided to move on from short films.

I’ve got ten years worth of experience, and plenty of new filmmaking gear.  Next project will be the big one.  My first feature length film.  I’ve got a script in development and plenty of ideas.

Onwards!

Friday, 6 July 2012

Filming the plane interior.


We began shooting in earnest today with the aircraft cabin sequence.  This should have been one of the easiest parts of the shoot as I had found several companies advertising cabin sets (most of them are simulators used by airlines to train cabin crews) but when I started trying to make a booking I found that all of them were either out of business or simply not interested in helping a low-budget short film.

Luckily I was able to track down a suitable location at an aircraft museum which was available at the right price.  :)

We shot very light, with minimal lighting (just a couple of LED panels) and relied on the natural lighting in the plane itself.  The shots turned out great and will really help to add some production value to the project.

Next shoot is in a couple of weeks, when we shoot interiors for the main scene that comprises the majority of the film.