Showing posts with label Sony. Show all posts

Tuesday, 31 May 2022

If anything can… DVCam

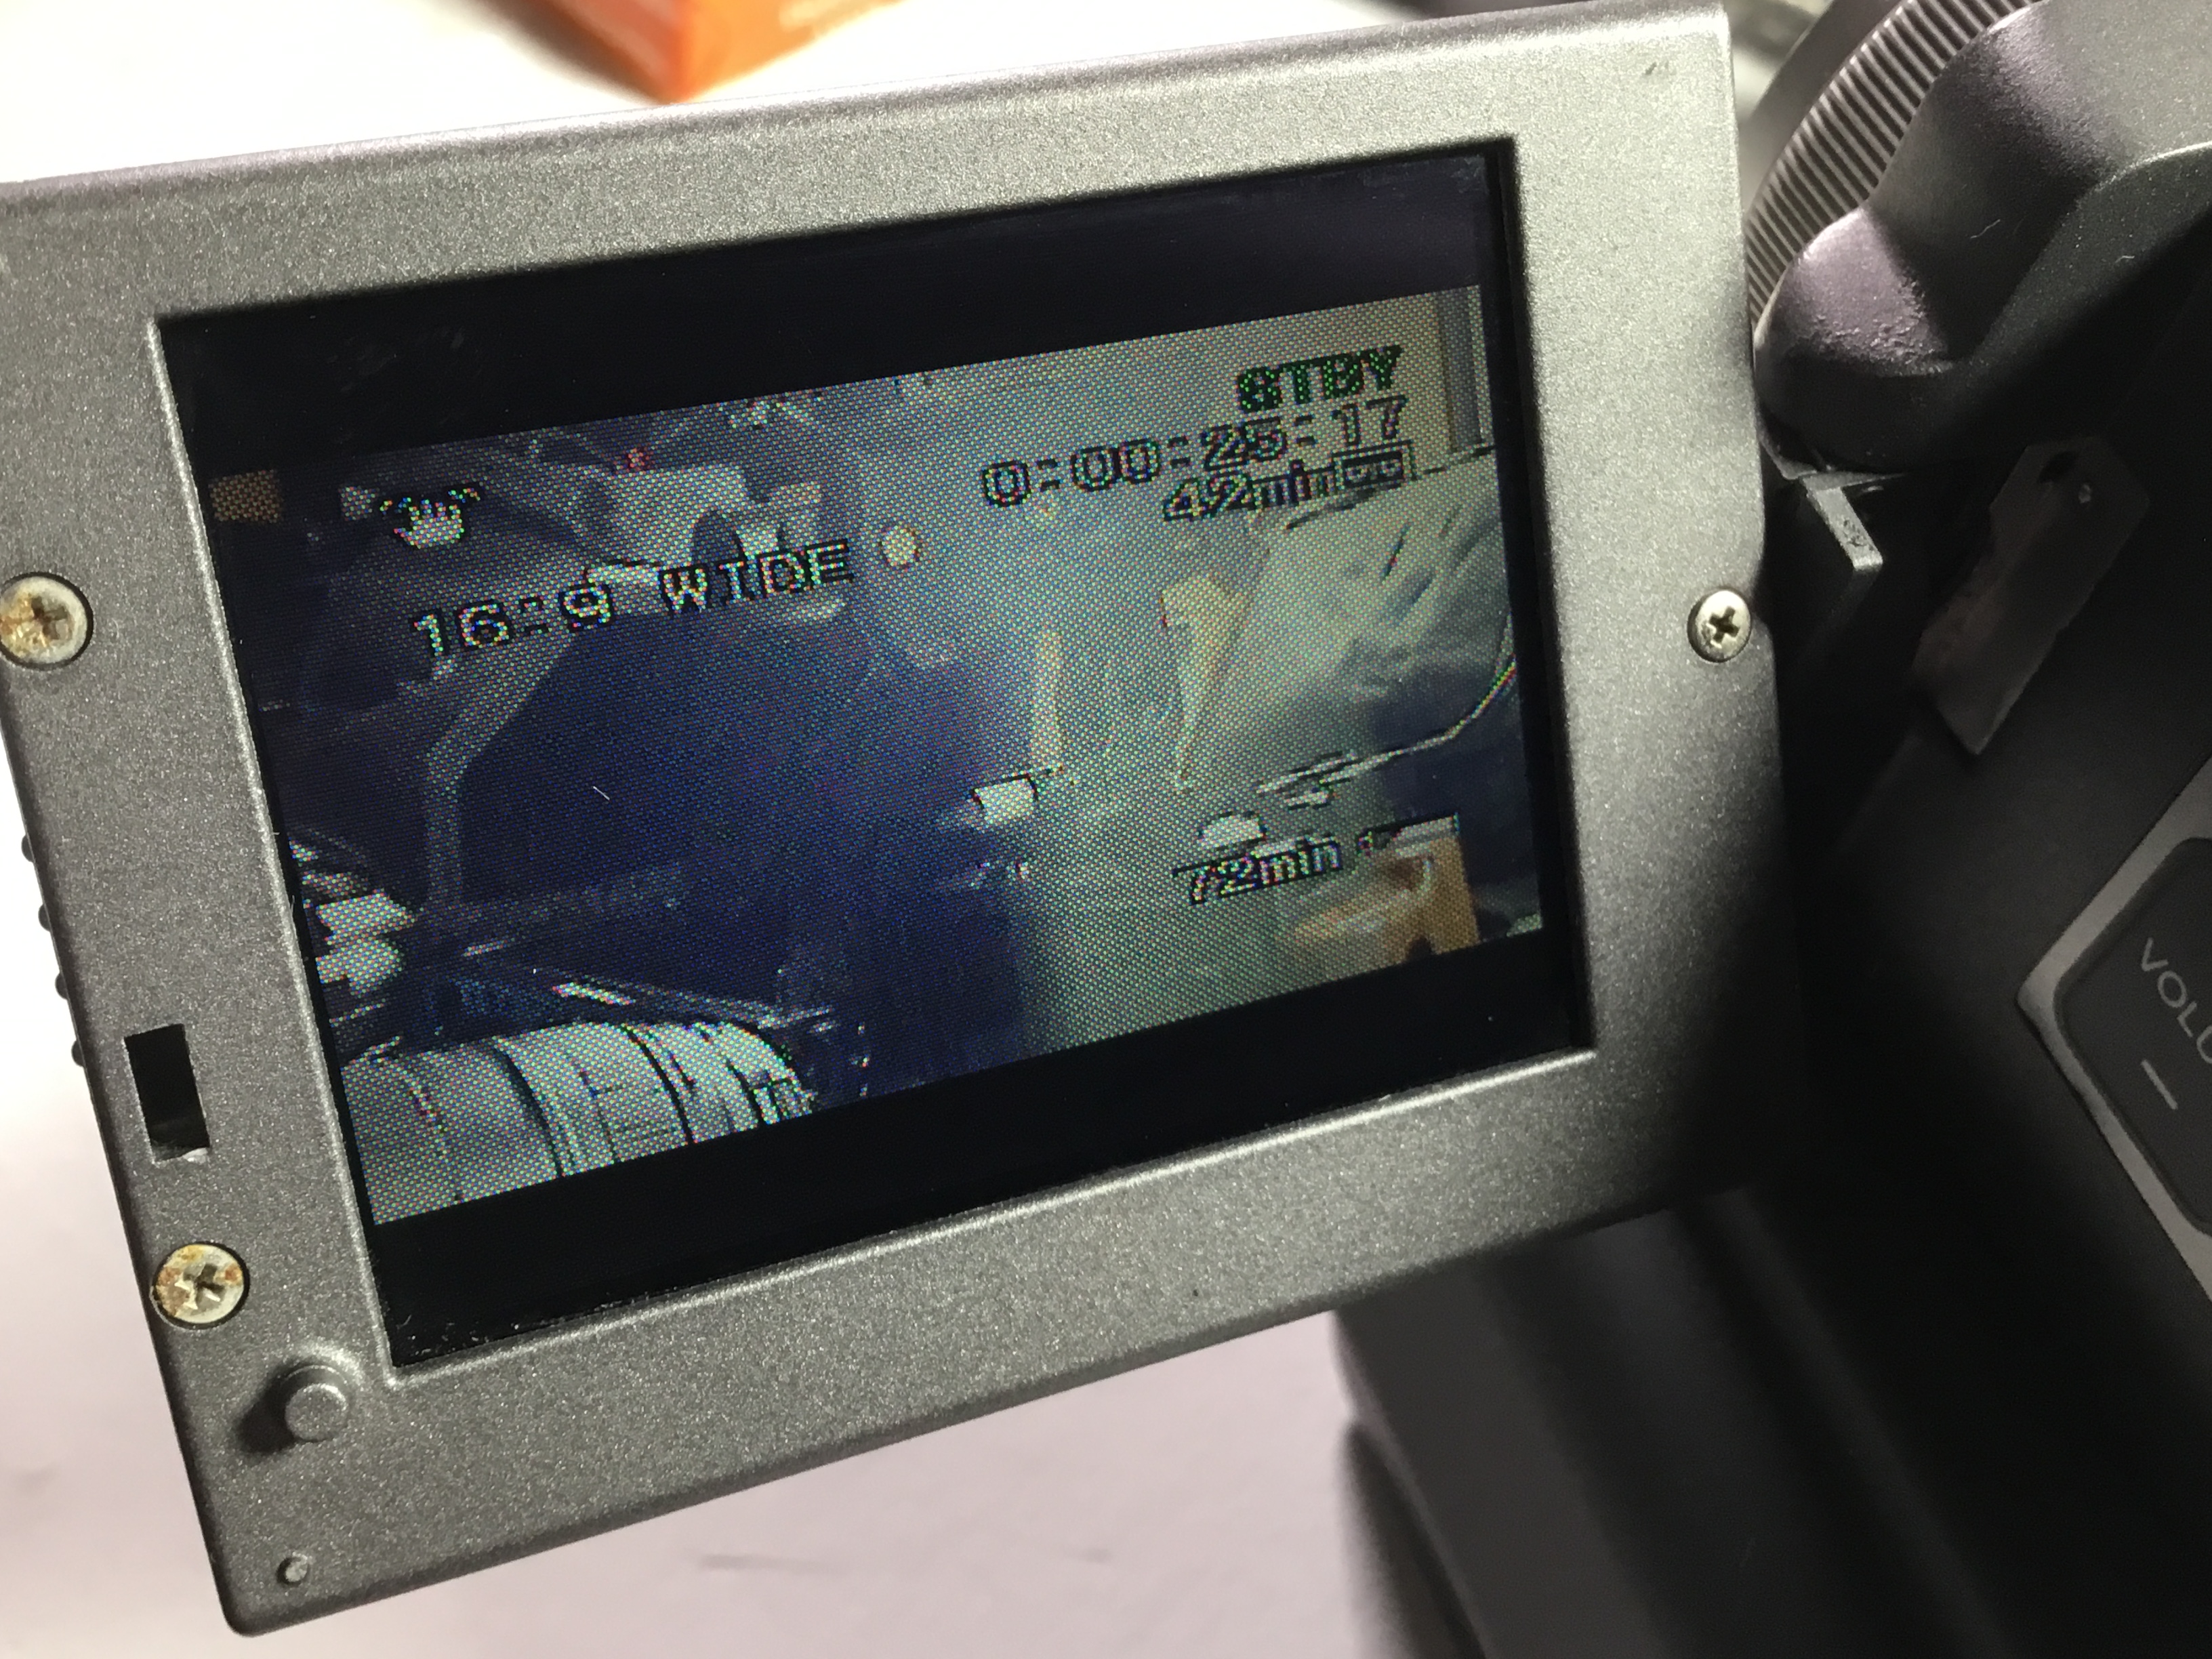
 Despite having a load of MiniDV and DVCam camcorders I was tempted by this Sony DSR-PD1 going cheap on eBay.

Released in 1997 the PD1 is the smallest DVCam camera ever made, it’s a palmcorder barely wider than the tape drive mechanism inside it, with flip out screen and compact lens.  

The PD1 is the professional partner to the Sony DCR-PC7 consumer model and is almost identical apart from the dark grey paint finish and the DVCam logo.

This one is fully working and aside from a few bubbles in the paint it’s in good condition.  These cameras use a Series-F battery which is wider and flatter than the later NP-F550 style and was only used for a small number of cameras.  Luckily the battery for this one still holds a decent charge because replacements are not easy to find.

This photo shows how large the PC7/PD1 is compared to the slightly newer DCR-PC9e from 2001.  The PC9e also uses the much more common FM series batteries.

So that’s another camera added to the collection.  Once the weather clears up I will be heading out to grab some DVCam footage with it and trying out the low light performance.


Sunday, 8 May 2022

Slice like a Ninja…

 One of the main problems with older DSLR cameras is the highly compressed shooting format. 

For example my Canon 550d records H264 with a bit rate of around 45mbps which gives a good quality image but such high compression gives very little room for adjustment in post.

My Sony a5100 offers a slightly higher bit rate with its XAVC format offering 50mbps but shooting in that format for prolonged periods does tend to overheat the camera.

Modern cameras like the BMPCC record in Apple ProRes or DNG RAW for the best quality, but obviously they also cost a lot more.

This is where the Atomos Ninja comes in.  First released in 2012 the Ninja is a portable lcd monitor and hard drive recorder which records an HDMI input as ProRes up to 147mbps.

When first released the Ninja cost over £900 and was pitched at professionals looking to add tapeless recording to HDV cameras.

Ten years later the Atomos range has gone through a lot of changes and five versions of the Ninja adding a lot more functionality and recording options.  The original version of the Ninja can be found very cheaply on eBay.  


I picked this one up very cheaply and it came complete with original carry case and a selection of hard drives and ssd drives.


The recorder itself is very compact, measuring 4.5 x3.5 inches, and it is small enough to mount directly on top of the camera using a monitor swivel foot.


The system uses standard 2.5inch hard drives or SSD’s which are mounted in plastic caddies and slotted into the left side of the device.  Footage is downloaded using the usb hard drive dock provided.

Power for the recorder comes from standard Sony NP batteries, with two battery slots on the back of the recorder allowing for hot swap during recording which gives potentially unlimited recording times on location.


Control is via touch screen controls and the menus and buttons are very clear and easy to use.  The touch screen itself is not overly sensitive so it needs a good ‘press’ and hold on the screen in order to activate the buttons.  It’s not possible to accidentally brush against the screen and stop recording.


The screen is very bright, much brighter than the standard screen on a DSLR and it’s very easy to view even in bright daylight conditions.

If you use spinning hard drives rather than SSD then the recorder does give a very slight gyroscope effect that makes handheld operation a little strange.

The recorder requires a clean HDMI signal to work, so you will need to make sure your camera either includes clean HDMI out or can run Magic Lantern to obtain a clean signal.

The ProRes recording format gives larger file sizes than the H264 on my Canon with a 250gb hard drive storing about 3 hours of footage at the highest ProRes 422 quality.  However the jump in quality is really impressive when viewed against the in-camera recording.  

ProRes gives a lot more flexibility for post processing.  The footage can be pushed further in brightness without showing as much grain as the standard XAVC recordings on the Sony and for the Canon the footage is a huge improvement.  The original Canon H264 footage shows a lot of compression, especially in shadow areas but the ProRes 422 HQ files are almost noise free by comparison.

So if you are looking for a budget recording option that gives professional quality footage even from a budget camera, then the original Atomos Ninja is definitely worth trying out.



Saturday, 18 September 2021

Banks and banks of humming machinery… the Sony EV-C500e

 So having unearthed yet more boxes of old tapes in storage I realised that I had more 8mm tapes than I thought. Most of them date back to the late eighties and early nineties, before I switched to using MiniDV and there is a lot of footage to capture if I’m going to archive them all.

So I’ve set up a capture station using a second Sony VRD, this one is an MC6 which is a slightly more compact unit that is small enough to sit on a shelf under my studio desk.

Initially I was planning to use one of my smaller Hi8 camcorders as a playback deck but then I found this Sony EV-C500e Hi8 video recorder going cheap on eBay.

The EV-C500e was a revised version of the EV-C100 first released in 1993 and externally it is almost identical to the earlier units.

The EV-C500e is a compact bookshelf style with front control panel including jog shuttle and rear connections for video and s-video in/out plus a lanc control point for use with editing controllers.

The supplied remote is a small RMT-V124c model which is similar to several other Sony handsets and is likely to be interchangeable with other models.


The model I bought seems to be in good condition with very little head wear and is fully working.  I cleaned the heads before putting it into operation and so far I’ve had no trouble apart from one of my oldest tapes which had some pre-existing damage that caused it to jam while forwarding and unspool, I had to open up the recorder to remove the tape.

I’ve connected the C500 and MC6 using RCA cables as the MC6 doesn’t have an S-Video connection.  Most of these 8mm tapes are being transferred to DVDR for archiving, but I can connect the C500 to my Blackmagic Intensity for S-Video capture on PC if needed.


 Overall I’m very pleased with this new addition to my editing station.  I love the dark grey colour scheme and the EV-C500e is built with the usual Sony quality so hopefully it will have a few more years of service left in it.  Not bad for a machine that’s almost 30 years old.


Monday, 30 August 2021

Dusting off the blank DVDs

The age old problem of tape based media is that they are fragile.  Tapes are so susceptible to damp, humidity, electromagnetic interference and even simply being stored in the wrong orientation (my top tip is don't ever stack video tapes on their side... always upright.)

Anyway, capturing analog footage onto pc, collating and editing it and laying out to portable hard drive or DVD has always been a bit of a slog.  It’s a job that I tend to put off for a rainy day, but of course I rarely get around to it.  However I’ve realised that some of my old tapes are getting on for 30 years old, and it’s only a matter of time before they succumb to tape rot.  I needed to find a solution for quickly and easily archiving that old material.

And this is where the portable DVD recorder comes in.  I spotted this old Sony VRD model on eBay for less than £35 and snapped it up.  The VRD-MC series was first issued around 2006 and was designed to allow for quick and east transfer from camcorders and video recorders to DVD.  It’s basically a PC-DVDR drive in a case with a small LCD screen.

Mine is a second generation VRD-MC3


The MC-3 appears almost identical to the earlier MC-1 and it’s not immediately obvious what features changed between the models.  For the MC-3 the only real difference is the addition of a USB connector to allow direct docking with Sony branded HDD and DVD Handycams.

The MC-3 features a simple interface with settings for various footage sources, you simply select the appropriate source (e.g. ‘Analogue Video to DVD’) stick in a blank DVD and press play on the camcorder and hit the record button.  That’s it.  The lcd screen lets you keep an eye on the footage while it’s transferred and when the capture is finished you can either finalise the disc or add more footage by connecting another source and pressing the record button again.


The VRD-MC-3 has connections for analog/phono connectors and s-video as well as an iLink 1394 connection for DV cameras.  The system only supports Standard Definition video so it won’t be any use for transferring HDV.  There are slots for Sony Duo memory sticks, SD cards or Compact Flash.


I used Sony branded DVD+R discs to make sure I had the best compatibility with my living room DVD player as well as PC.  These discs seem to be getting a bit more expensive these days but hopefully they won’t disappear from the market for a few years yet.

So if you are looking for a quick and easy method to archive old analogue tapes, without the hassle of booting up the PC, or you want to transfer some iLink MiniDV footage then it would be worth picking up one of these recorders.

I’d recommend either the MC3 like mine or the slightly later MC5 as both of those models feature the S-Video connector.  The MC6 doesn’t support S-Video and is particularly low on features compared to the earlier models.  However the final model the MC10 does support S-Video so clearly there were a lot of complaints about the MC6.


The VRD-MC-5 (Pictured above) features an S-Video connector.


The VRD-MC-10 (Pictured above) was the final model in the series.  It added some extra functionality for the DVD menus and reinstated the S-Video connection which was missing for the MC6. The casing is slightly more compact and the plain black colouring is perhaps a little more hi-tech looking than the earlier white/black versions.


Monday, 19 July 2021

Clean over my heads...


Among my many camcorders are a couple of Sony V90e models, these were one of the early Video8 camcorders when they were still fairly large and bulky machines, before the smaller tape formats and palmcorders became available.

The V90e is the same type of camera used in the Steven Soderburgh movie ‘Sex, Lies & Videotape’ and famously pictured in the promotional materials for the movie.

Neither of mine has worked in decades, but on a whim I decided to see if I could resurrect them.  One of them was in good shape cosmetically but tape playback was really choppy with lines all over the screen.


I had assumed the problem was a tracking issue, which would need some specialist equipment to fix, but I thought I might try clearing the heads to see if that helped.

I bought some chamois cleaning swabs with bendable plastic handles (these are much better than cotton swabs as the cotton ones will tend to leave fibres on the recording heads) and set up a clean space to open up the camera.


In order to reach the heads for cleaning I had to remove the tape door cover, which is held in place by a couple of tiny screws.  Removing the screws allows the cover to slide up and off the frame, leaving the tape transport and heads exposed.

I coated a swab in isopropyl (from a vhs head cleaning kit) and then held it gently against the head drum while slowly rotating the heads in an anti-clockwise direction.  I used latex gloves to avoid adding grease or fingerprints to the heads.

After doing this a couple of times I reassembled the camera, hooked up the power and inserted a tape.


Incredibly the cleaning did the trick.  The picture playback was now almost totally clear, with only an occasional flicker in the playback.  The camera still has a few visible bits of dust and lint inside so I expect I will need to repeat this process at some point, but I’m really pleased with the results of my first ever attempt to clean heads without a cleaning tape.

If you have an old camcorder that won’t playback cleanly then it might be worth trying this method to see if it fixes the problem.